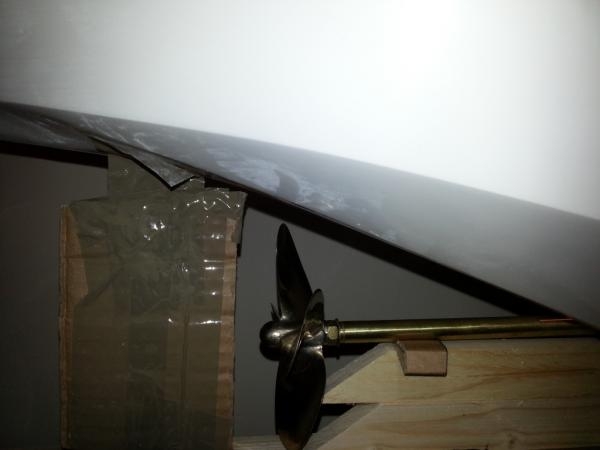
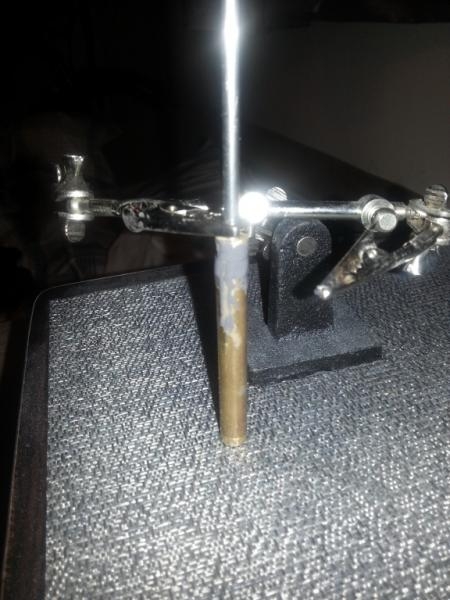
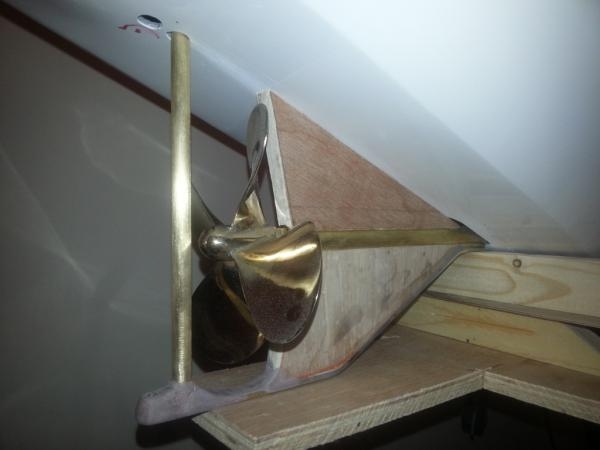
One of the trickiest parts of my build so far was this! Needless to say that the Strut/skeg has to be pretty much perfectly straight as this where the prop shaft runs through & the rudder attaches to, so if these are not straight it will have a huge impact on the Stability/handling & manoeuvrability of the model when on the water. So I had to get it 100% right (no pressure!). The tip is here, check, double check, triple check before fixing anything permanently into place.
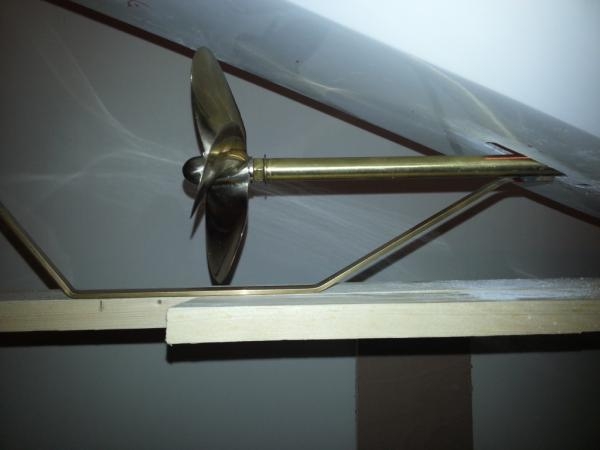
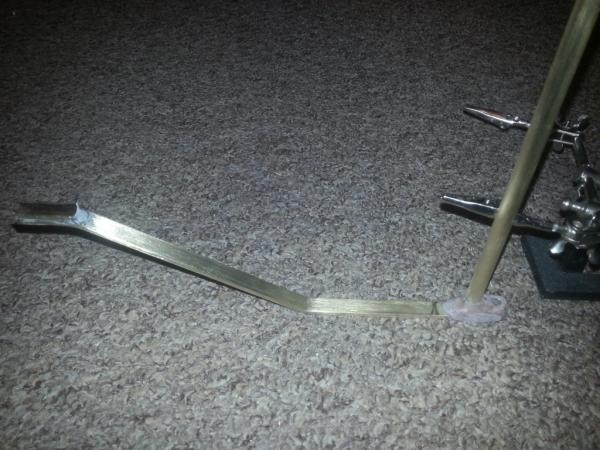
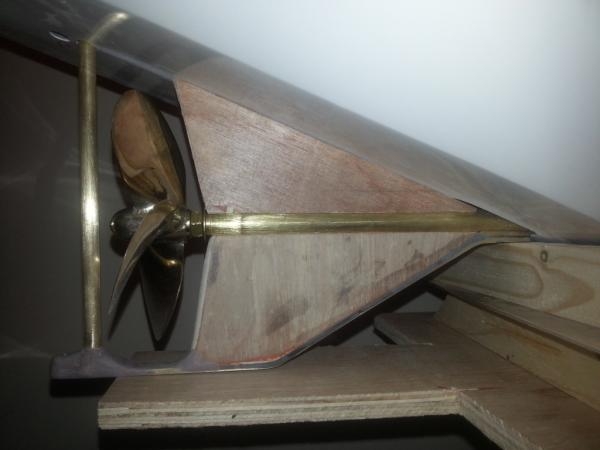
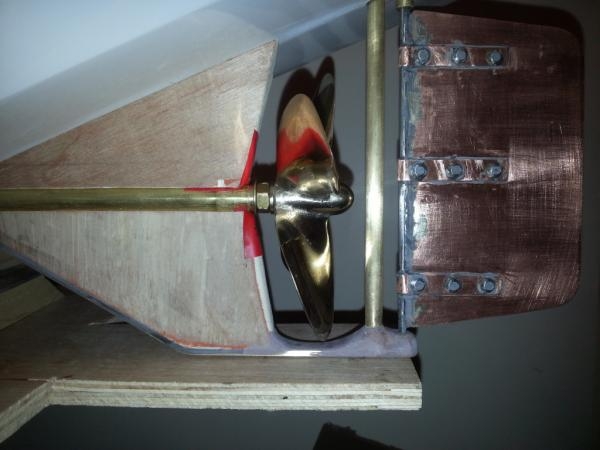
First off was to make the Strut which I used some brass flat bar which was 10mm x 3mm. I bent this into shape then I attached the Rudder Outer Shaft to it using solder. I then used some Evo-Stik 2 Part Epoxy Putty that sets rock solid quickly to reinforce the joints & to mould the shape of the rudder area. Next step I used some 9mm ply to make the skeg, I attached this in place using screws that passed through a block of wood inside the hull which was fixed in place using U-POL P40 Body Filler & also screws from the underside of the strut. This held the skeg firmly in place, so I then covered the entire surface of the skeg using some JB Marine Weld 2-Part Epoxy which is also waterproof to further reinfoce it.
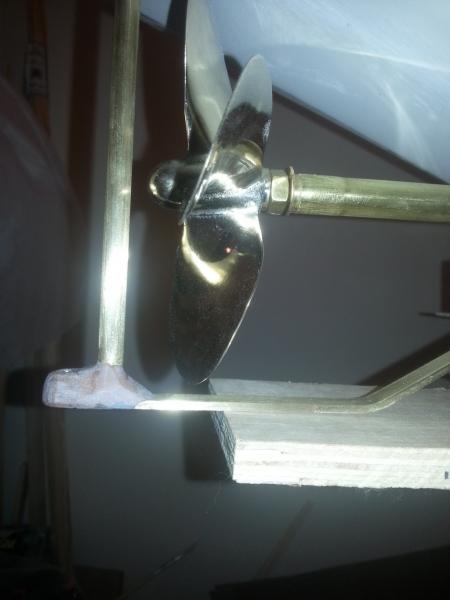
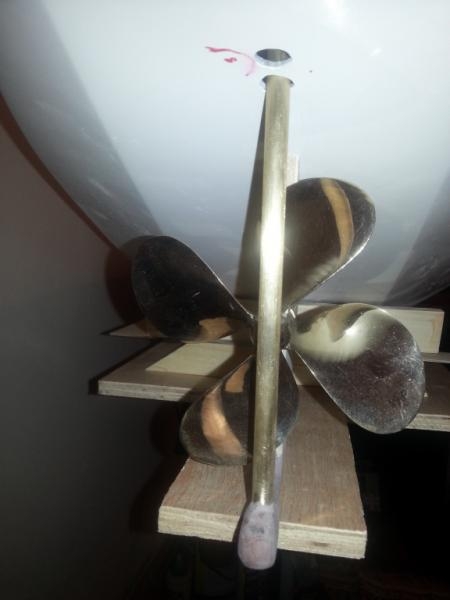
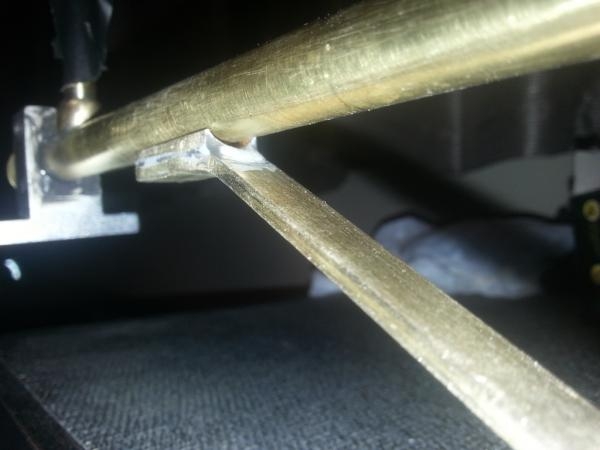
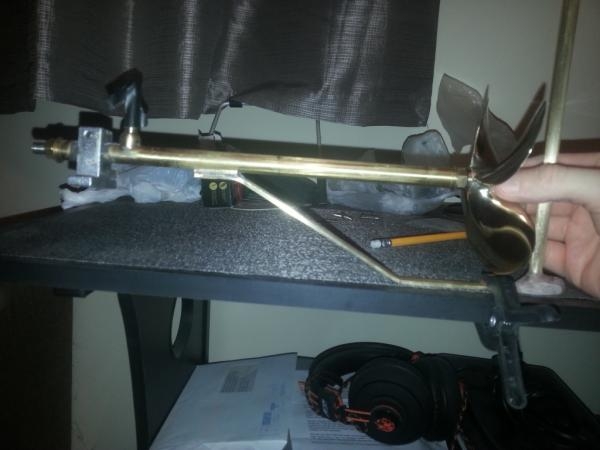
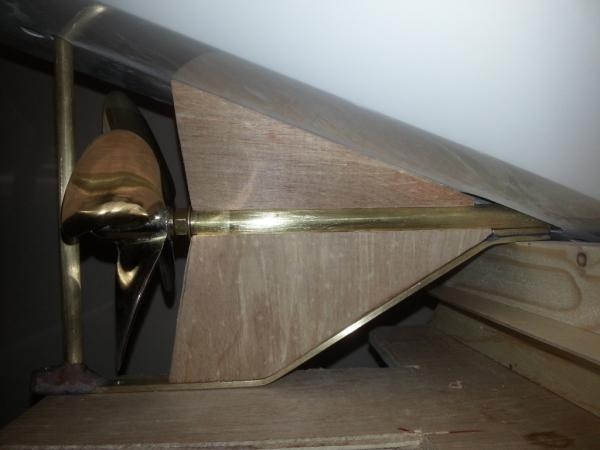
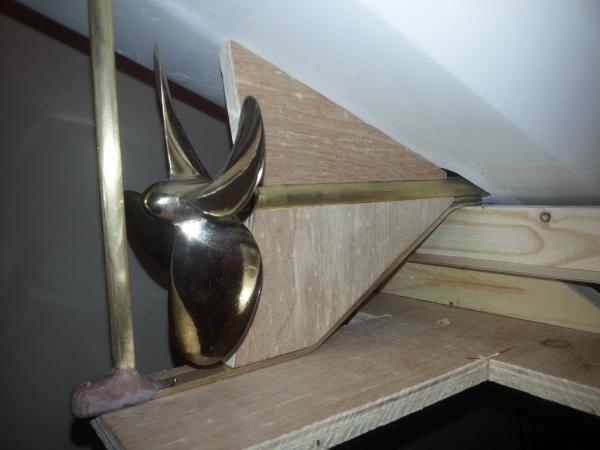
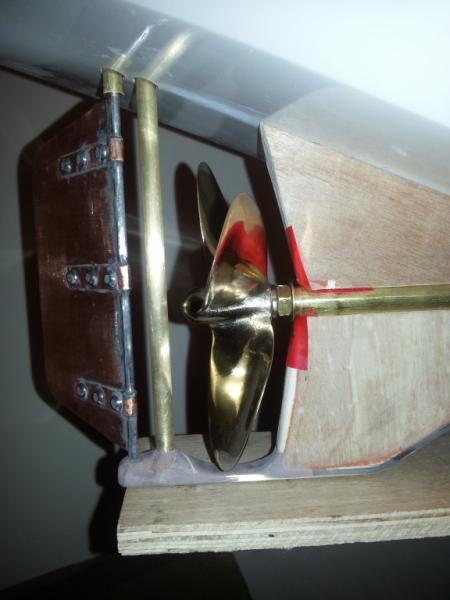
I then made some brass brackets out of thin sheet copper & fixed these on the skeg joining the top & bottom pieces of the skeg together with the prop shaft in the middle. Again this helps to reinforce the prop shaft/skeg. I then cut off the heads of small button bolts & fixed them onto the brackets to give the appearance of rivets.


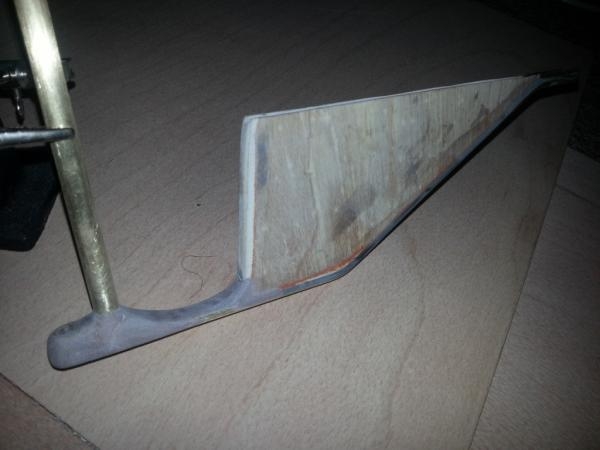
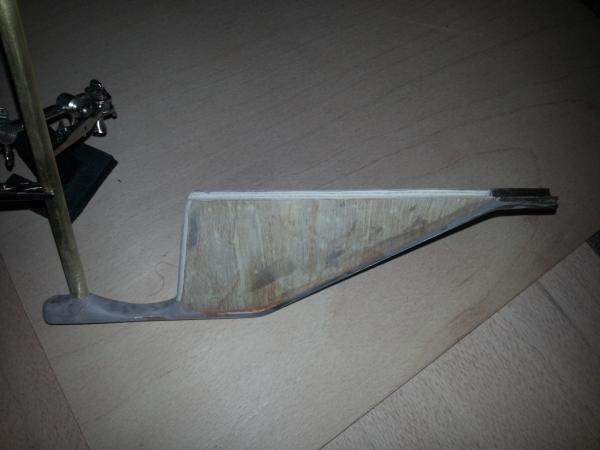
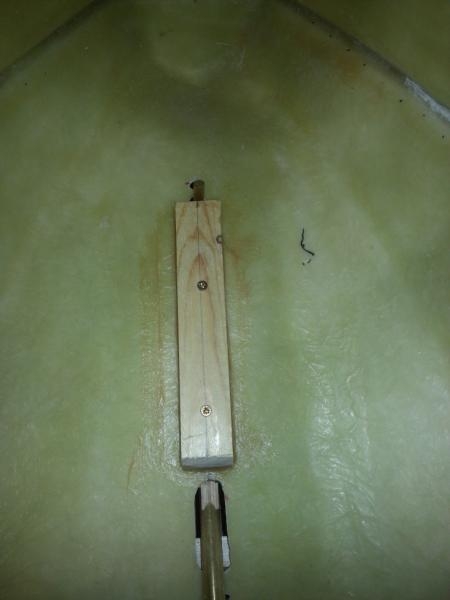
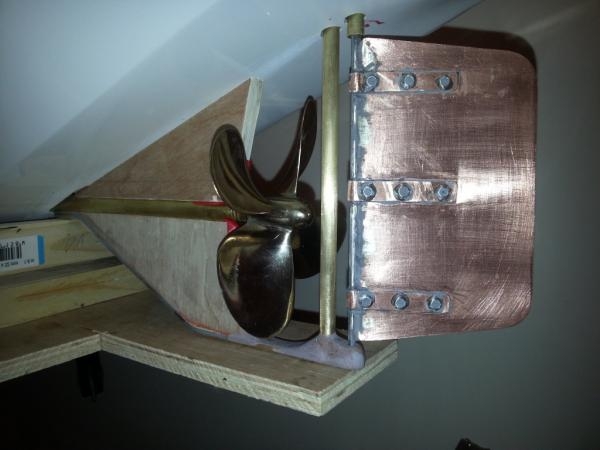
First off was to make the Strut which I used some brass flat bar which was 10mm x 3mm. I bent this into shape then I attached the Rudder Outer Shaft to it using solder. I then used some Evo-Stik 2 Part Epoxy Putty that sets rock solid quickly to reinforce the joints & to mould the shape of the rudder area. Next step I used some 9mm ply to make the skeg, I attached this in place using screws that passed through a block of wood inside the hull which was fixed in place using U-POL P40 Body Filler & also screws from the underside of the strut. This held the skeg firmly in place, so I then covered the entire surface of the skeg using some JB Marine Weld 2-Part Epoxy which is also waterproof to further reinfoce it.
I then made some brass brackets out of thin sheet copper & fixed these on the skeg joining the top & bottom pieces of the skeg together with the prop shaft in the middle. Again this helps to reinforce the prop shaft/skeg. I then cut off the heads of small button bolts & fixed them onto the brackets to give the appearance of rivets.