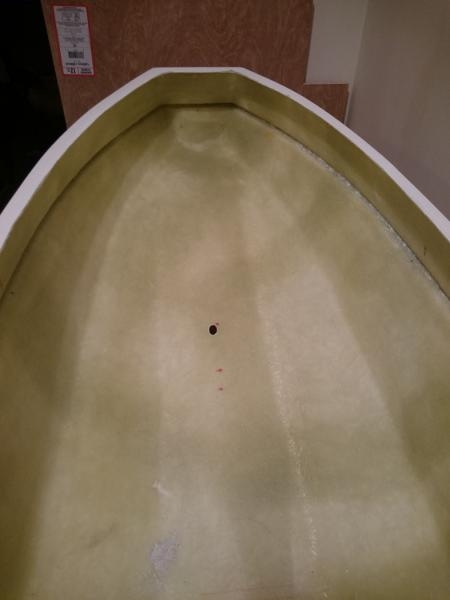
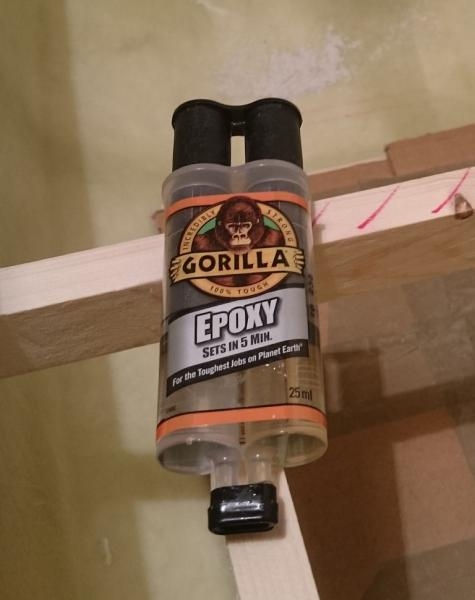
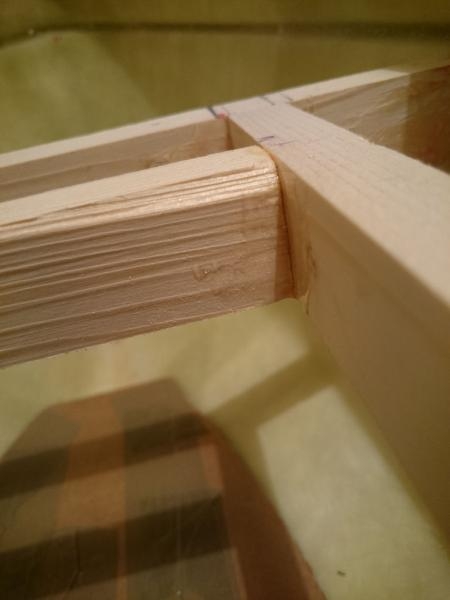
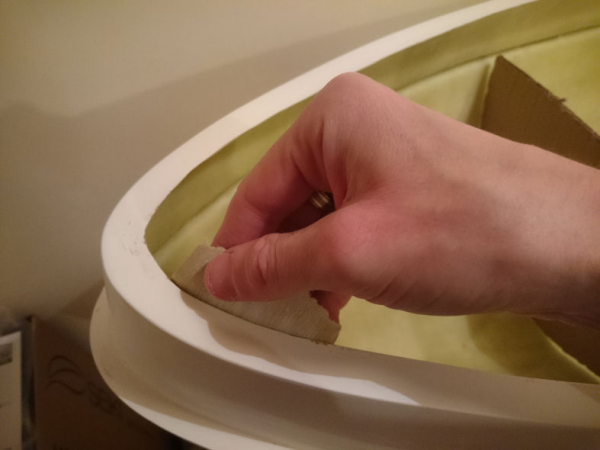
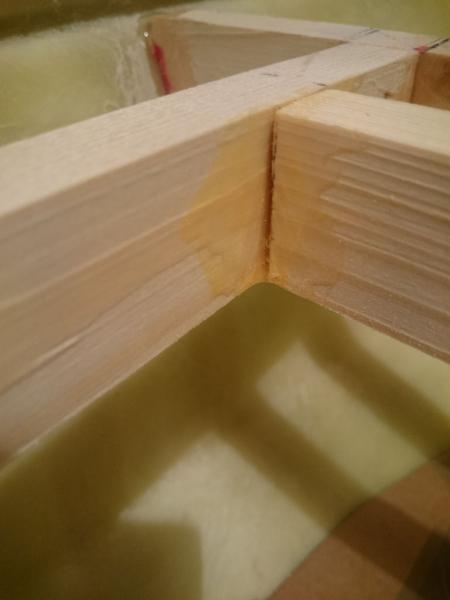
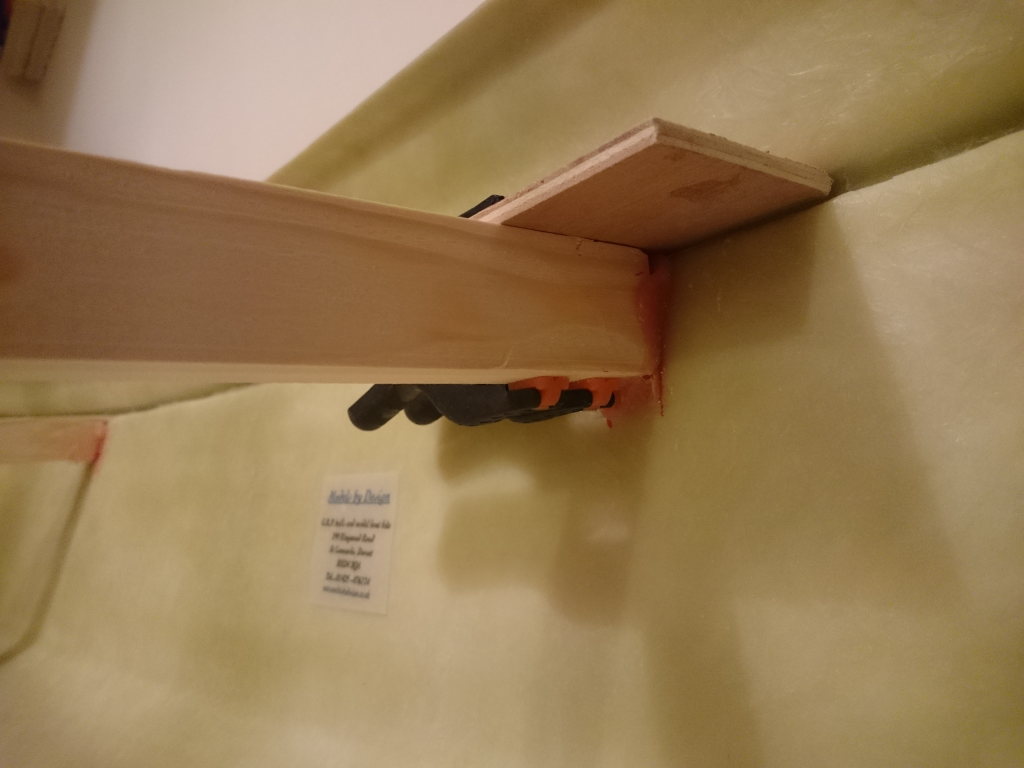
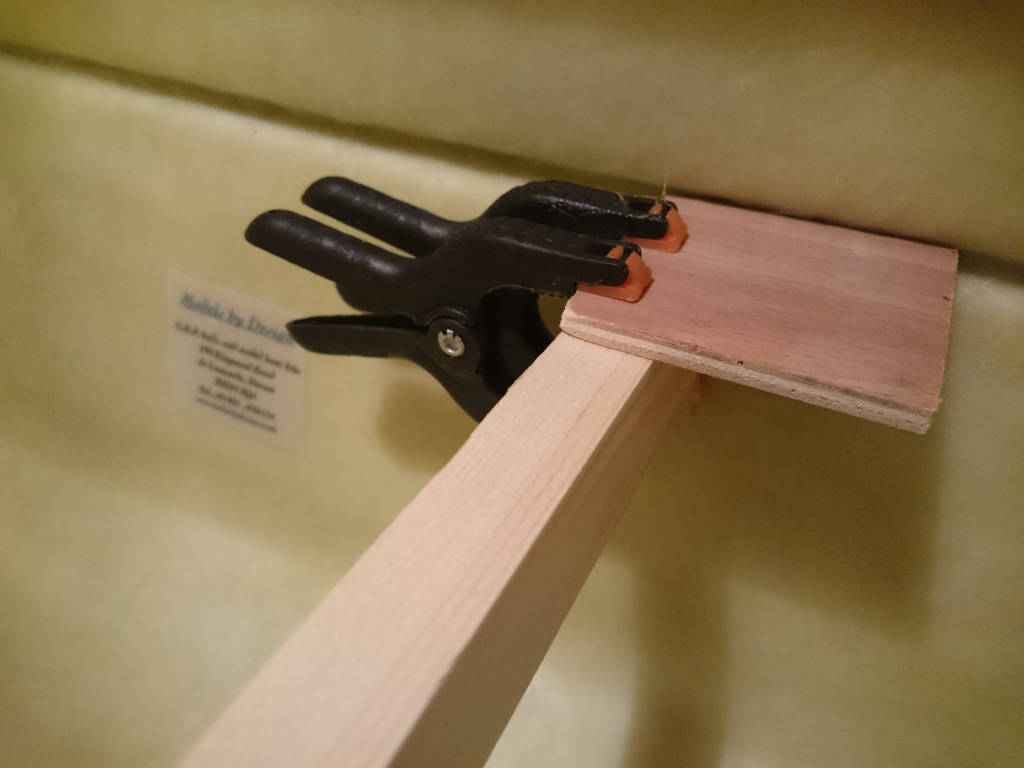
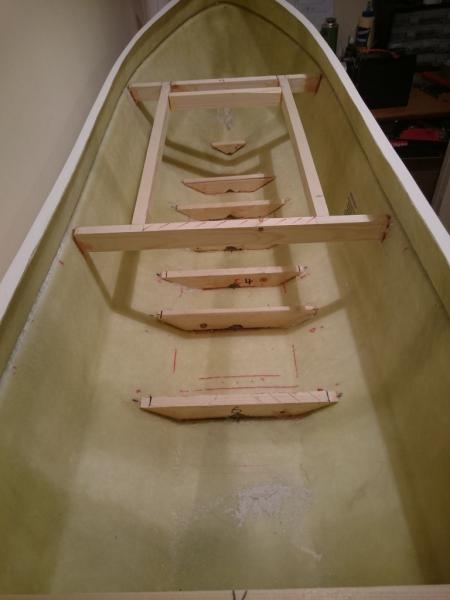
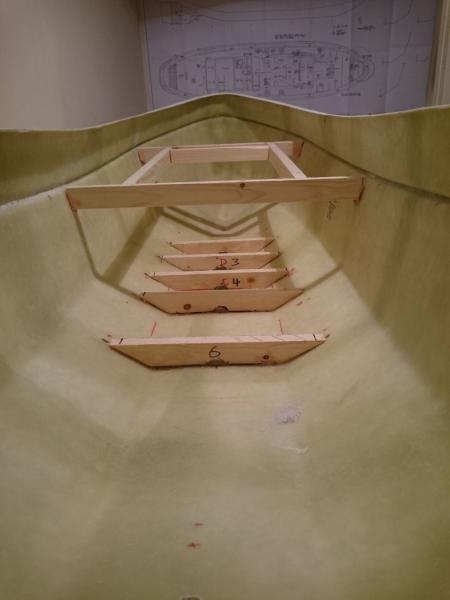
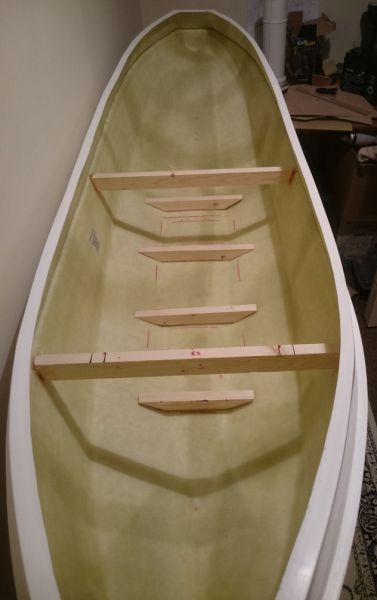
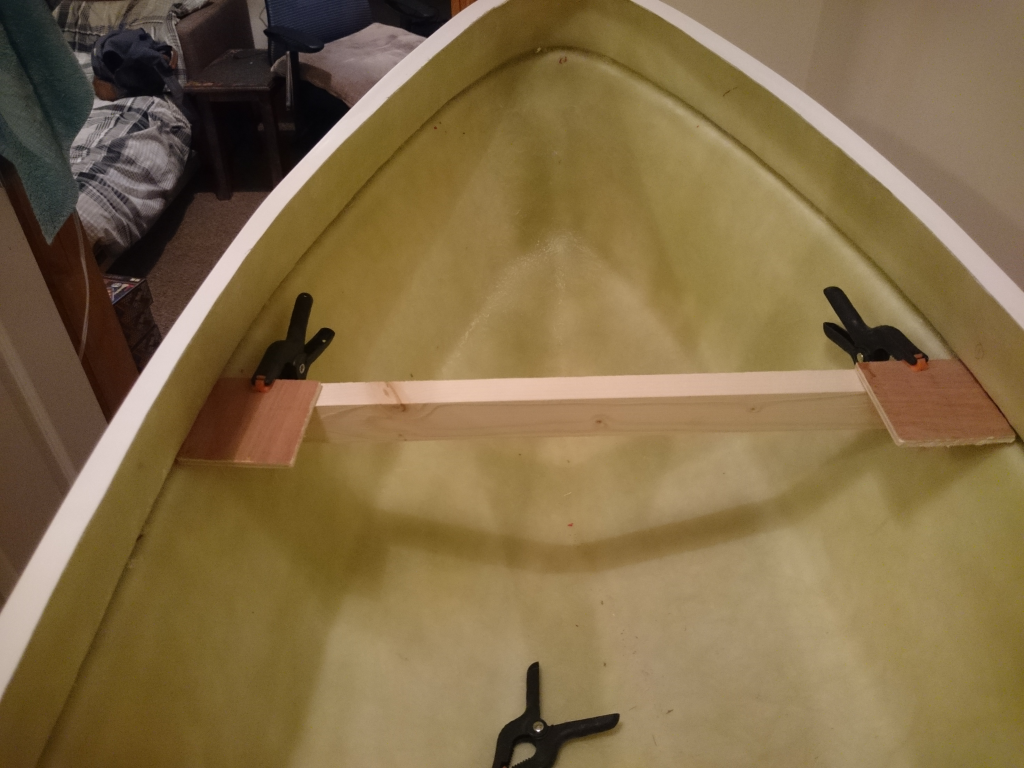
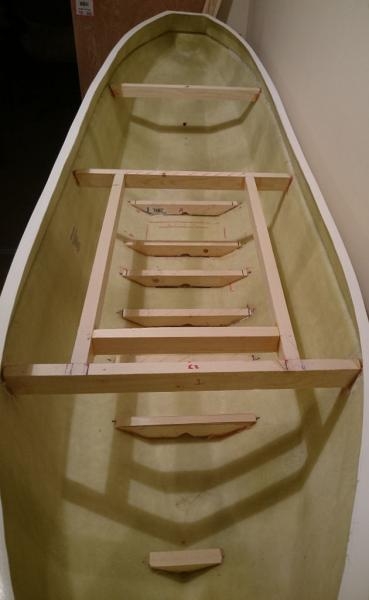
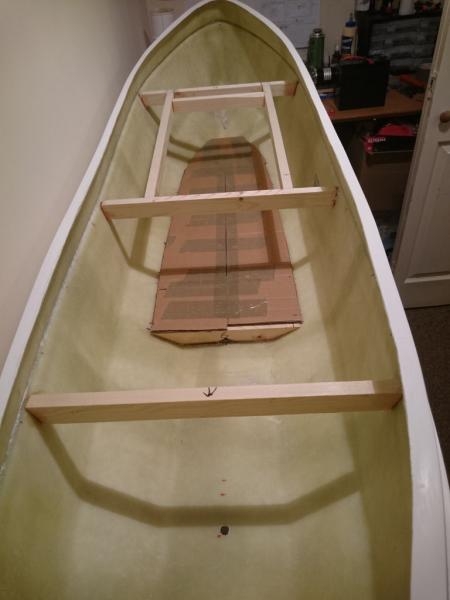
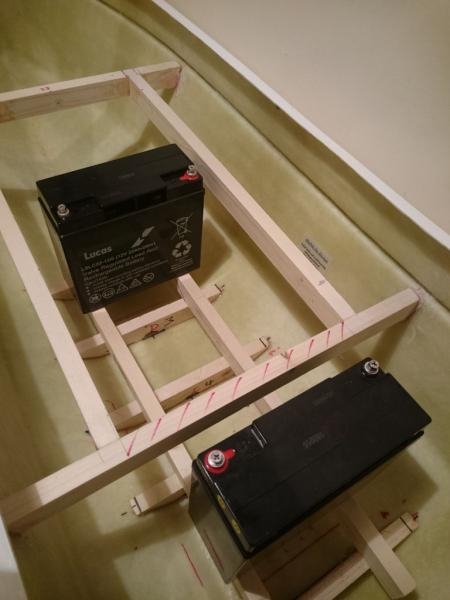
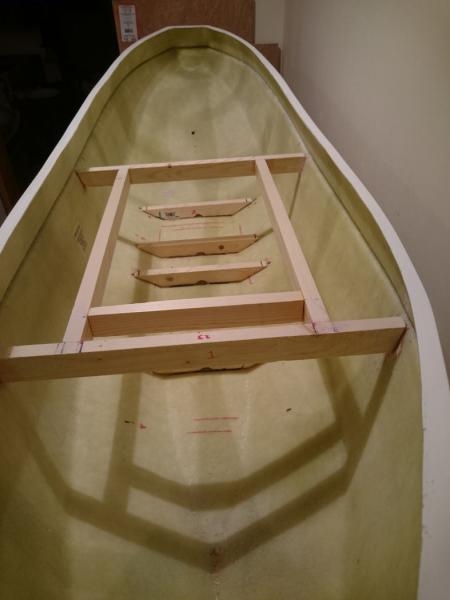
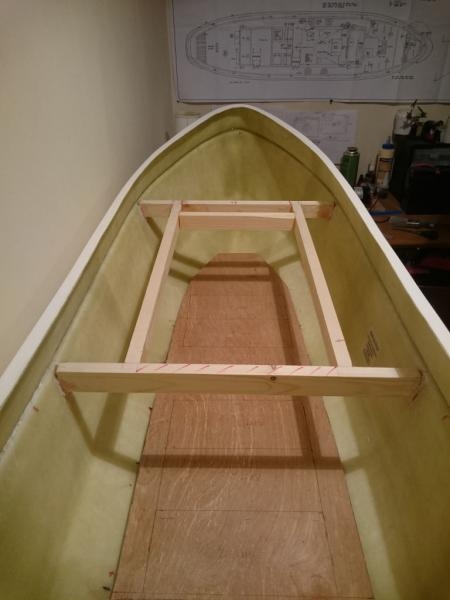
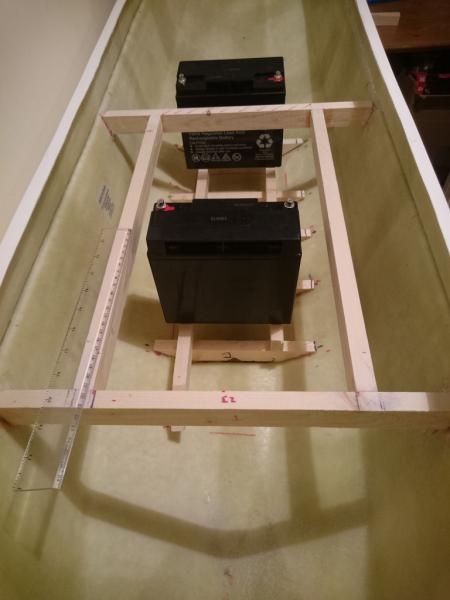
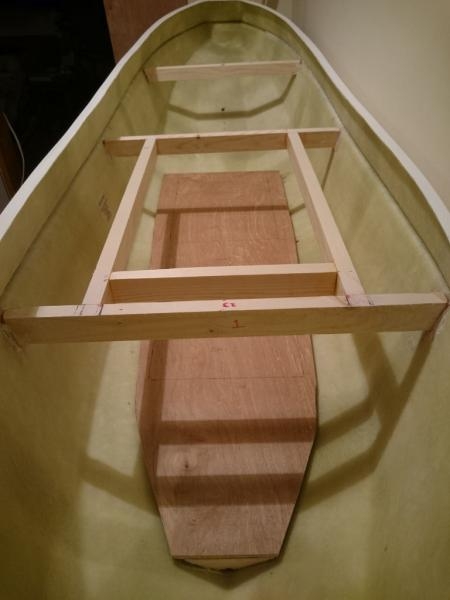
First step was to give the inside of the hull a sand to give it a smooth finish. I then fit the deck beams, braces & frames together using U-POL P40 Body Filler. I then used some Gorilla 2-Part Epoxy to cover the joint to reinforce it I then used some sheet ply for the base of hull which was fixed in place using U-POL P40 Body Filler, this is where the batteries & ballast will be sitting so it needed to be strong. I made shelving at the bottom of hull on both sides & also at the Stern / Aft which is where the ballast tubs will be plac.
I sealed the deck using some 2-Part Body filler (Big Boy Ultra Fine) I then sanded down to a smooth finish ready for the U-POL Dolphin Glaze to be applied, this will form a solid/sealed deck area. I also trimmed the leading edge of the Bulwark & sanded for a smooth finish. I used some styrene strips for the foot grips on the bow.
Making the Bulwark Supports was a very slow process as each support (38 in total!) was made out off 3mm ply & had to be measured/cut individually as each one is a slightly different size/shape due to contour of the deck! I fixed the supports in place using Stixall & Gorilla Glue Clear which has given the supports a good & strong bond to the Bulwark & Deck. I also used some 2x4mm strips of styrene / stripwood for the inner edge of bulwark.
I made the mooring holes using some plumbers tubing & rubber grommet (cut in half). I made the Cruciform Bollard using brass tubing, which passes through the deck into a wooden block which is cemented to the underside of deck for added strength should I ever want to use the bollard for towing.
The rear hatch cover is the access point for the rudder controls. I made the hatch & cover using ply & for the bench I used some planking, I decided to make the bench in 3 separate pieces to allow it to be removed with ease for access to hatch.
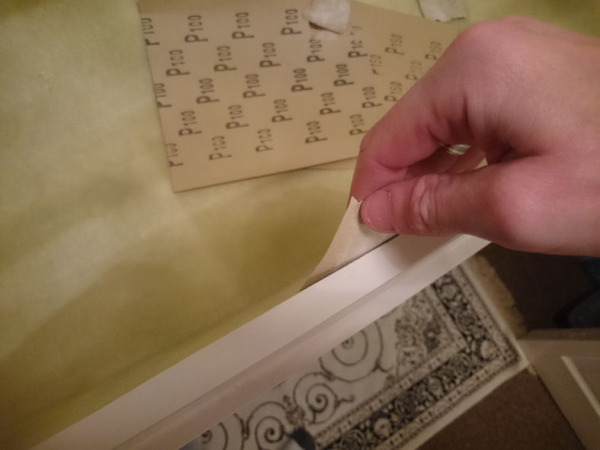